Harvesting
Learn how to reproduce your Fast Plants.
Harvesting
Days 40 and Beyond
Fertilization and seed development brings the Wisconsin Fast Plants® back to the beginning of the life cycle.
After pollination, fertilization yields a new and genetically unique single cell. Embryogenesis takes this single cell and sees it through to a seed.
Harvesting Your Seeds
Step 1
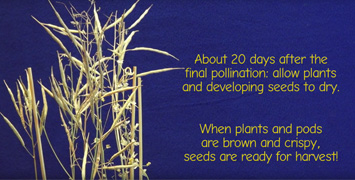
Approximately 20 days after the final pollination, remove the water reservoir and allow plants and developing seeds to dry. When the plants and pods are brown and crispy, seeds are ready for harvest.
Step 2
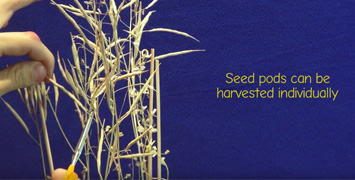
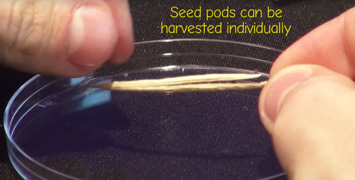
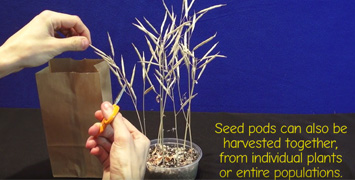
Cut the seed pods off and place them in a paper bag if harvesting together, otherwise you can harvest them individually.
Step 3
If harvesting individually, crush the seed pod and collect your seeds.
Step 4
If harvesting together, label the bag with the planting and pollination information.
If pods are not crisp, let them dry further in bag. Staple the bag shut.
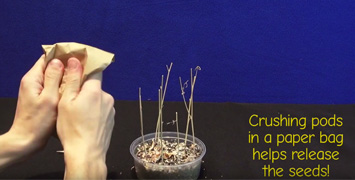
Step 5
Break up the pods thoroughly by crushing them in the bag to release the seeds.
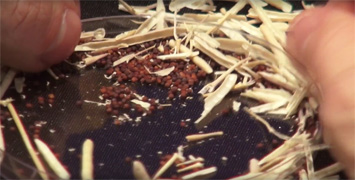
Step 6
Pour seed and chaff into the shallow tray. Pick out the large pieces of stems and leaves, and the remaining pod pieces. Gently blow on the remaining mixture. The chaff should blow away, leaving clean seeds. You may wish to do this outside.
Harvesting Tips
- 20 days after pollination, stop watering plants so that seed pods dry.
After harvesting, place your clean, dried seeds into a labeled envelope. Store your seed envelopes in a zipper-type sandwich bags in a refrigerator. For optimal long-term (12-month) storage, add silica gel in the bag to remove any remaining moisture. Seeds stored under these conditions will remain viable for many years.
For additional information about the ideal timing for harvest, including pictures of developing seeds, check our seed harvest blogpost
- Growing Systems can be reused. Clean all growing system components, including watermats and soak in 10% bleach solution for 20 minutes, rinse well, and air dry.